- Removed: 11/2005 -
The Coldside now lives with Dan at
Run-Down.com
It takes either a very brave or a very stupid man to cut up an expensive, Carbon Fiber (capitalized) Monsterflow intake to fit on his BR Performance Coldside supercharger. Well, I am that man! And I have the dead Dremel cutting wheels to prove it. CF sure is hard to cut...
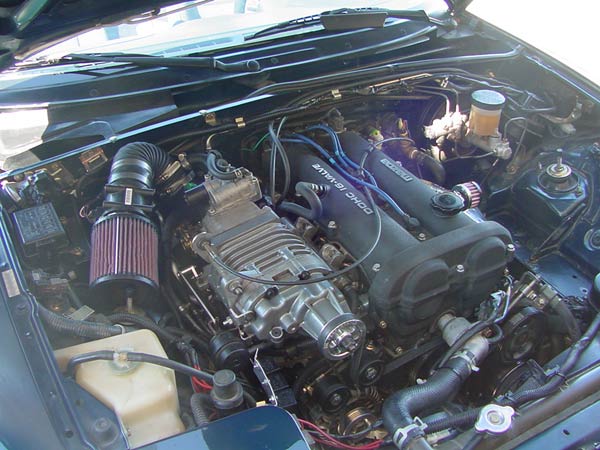
My original supercharger intake.
The intake that came with the Coldside wasn't really my bag, baby. It put the filter back on the hotside, near the header. I made this lovely contraption out of the parts shipped. It worked, but it sucked air right next to the hot blower housing. This in turn made the housing hotter, which, in turn, made the intake charge hotter. Even on a cool October evening, the blower would be burning hot to the touch after a cruise. Something had to be done.
Max boost seen with this intake at 5000 feet: 7 psi on a 35 degree morning.
Average max boost: 6 psi.
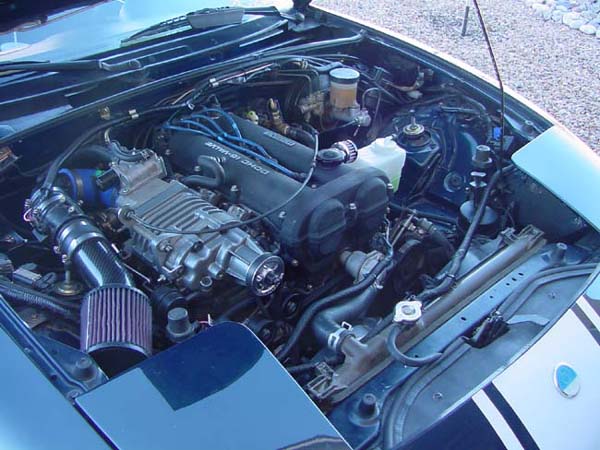
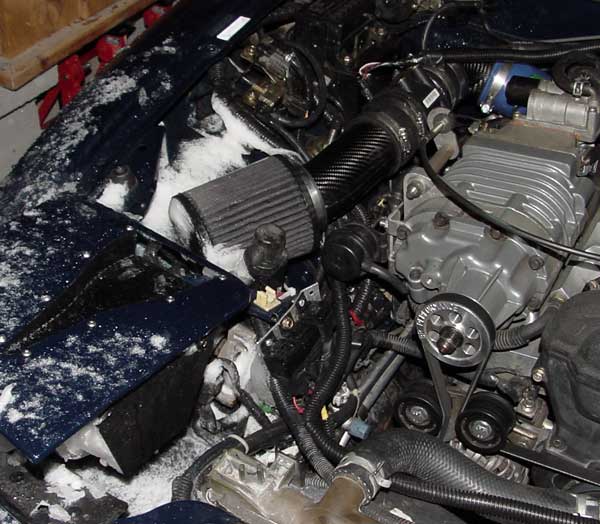
This was once an NB Monsterflow intake.
I was certain I could make the Monsterflow tube work, so out came the Dremel. Not only does this intake look much nicer, but it works much better. With the headlights raised, I can see the air filter from outside the car. Some decent cold air is getting to the filter. This was immediately obvious the first time I put my hand on the blower (by accident) after a testdrive. It was warm, but not burning.
Max boost seen with this intake at 5000 feet: 8.5 psi on a 40 degree afternoon.
Average max boost: 7 psi.

The air filter angles down where the rad. overflow bottle used to live.
Here, you can see some of the work I did to the Monsterflow. Really, I only made three cuts, and if I had measured the elbow correctly the first time, I would have only made two cuts. The "front" 10" was reused as you see here. It had to be rotated to point 180º from the stock angle, but since I was putting the MAF in the middle of the pipe, that wasn't a hard order at all.
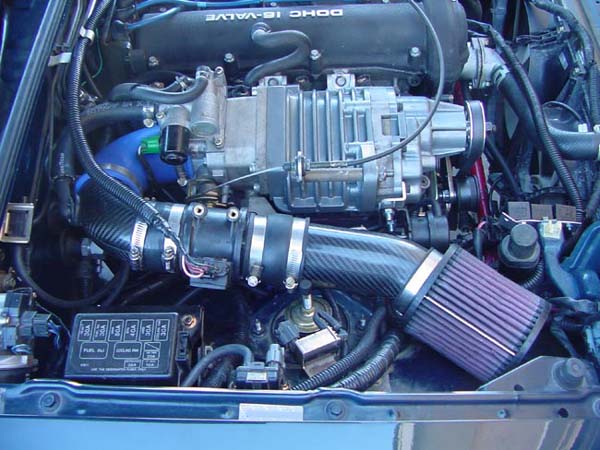
90º silicon elbow + 90º carbon fiber elbow.
The 2.75" blue silicon elbow came from injenonline.com. I was hoping for black, but for $12, I was happy to order the blue one. The cheapest I had found elsewhere was $50 for a 3" elbow, which wouldn't have fit well anyway. The c/f elbow fits in this and has some room to slide in and out for optimal intake placement. There's just enough space for the tube between the choo-choo (Coldside bypass) and my TEIN shock bolt seen in the foreground.

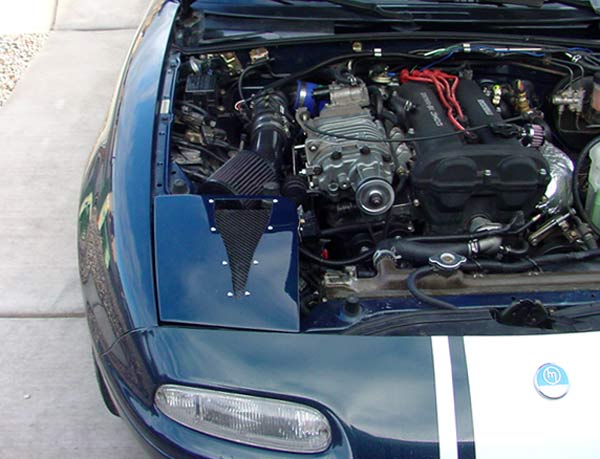
Engine bay shot from the hotside.
The tiny radiator bottle is from a 99-00 Civic. I bought it without previously finding a place to put it. There's a few other options, but this one seemed the best. The TrackDog header blanket keeps that side of the bay so cool, I feel pretty safe putting the bottle there. I also installed my evaporative charcoal cannister there in the empty space, making the rad bottle look not quite so out of place. It's much nicer with the evap hooked up again; I had bridged the tank vent and the fender dump line so that all of the gas fumes vented to the fender. Also, if you look closely, you'll also notice my re-worked wiring harnesses. They were getting a little out of hand after the Coldside install. An hour of work with some wire loom and zipties cleaned them up to "unnoticable" levels.
The carbon fiber Coldside NACA duct.
The crappy winter weather didn't keep me down for long. I bundled up, warmed up the garage, and got out the dremel. My persistance was rewarded by the duct you see above. I even took some pix and wrote up a page detailing the scary headlight lid cutting process.
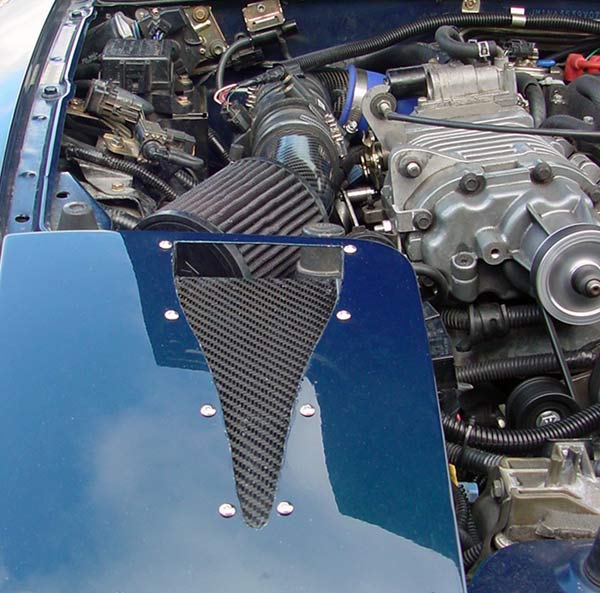
The NACA duct points the air in the right direction and the Coldside sucks it in.
Now I just need to finalize my isolator box. Those that have been here before might remember my N/A intake complete with NACA duct and isolator box.
Ya think that air is cold enough?
A freak snowstorm hit Albuquerque in March, 2005. I was driving home at the time. I saw this little snowdrift in the engine bay and immediately ran to get the camera. Maybe this will finally silence the folks who say the NACA duct doesn't work for induction... By the way, the lights were down for most of the drive. I raised them when I parked to clean out any ice that might have grabbed hold.
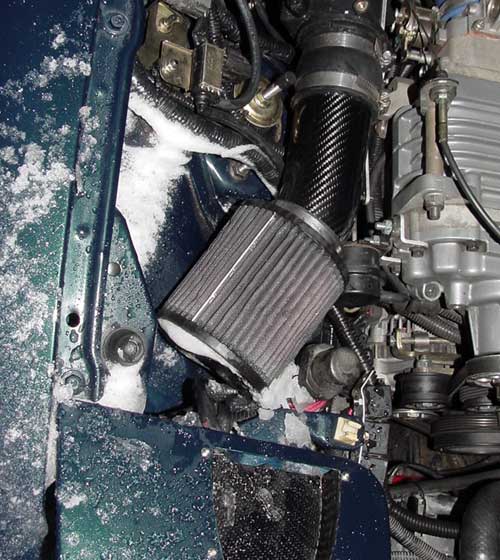
This gives new meaning to the term "Coldside".
No problems from the extreme-cold-air induction. I just wiped the engine dry after parking. However, the moisture around the fuse box and sensitive EGR boost sensor did worry me a little, so I finally finished my intake isolator box.

Cold air for the Coldside.
The last revision to my Coldside intake. The intake isolator box was made out of ABS plastic sheeting (1/4" thick) instead of aluminum. There's some pretty delicate things nearby like that S/C bypass actuator that I didn't want getting eaten up by aluminum. I spent much time getting the fit as exact as possible. The design and placement allowed me to get a tight fit without actually bolting the shield down. It's held in by pressure and removes as a single unit for easy servicing. For more details, check out the Coldside intake isolator page.
Site Navigation
Latest Blog Posts
CarbonMiata Vent Window Install/Review
Posted on Mon, 30 Jan 2023 01:47:44 +0000
 After waiting 23 years, there's finally a pretty vent window kit on the market for the NA/NB Miata. Unfortunately, it doesn't actually work well.
Read more...
Period-Correct 90s Rear Speakers
Posted on Mon, 11 Oct 2021 02:12:26 +0000
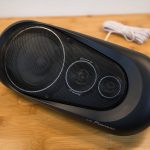 Sharka's rear package tray now holds more than just a rollbar. A set of 90s speakers is the next upgrade for the little blue and white boi.
Read more...
GV Tail Light Upgrade
Posted on Tue, 28 Sep 2021 02:05:06 +0000
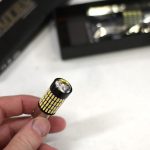 TLDR; LEDs are brighter, who knew?
Read more...
Mona Visits Joshua Tree
Posted on Sat, 26 Jun 2021 03:21:12 +0000
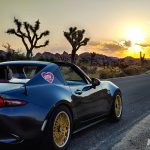 Mona checks out the curious multi-armed residents of Joshua Tree National Park
Read more...
KINOD 15
Posted on Sun, 20 Jun 2021 22:49:33 +0000
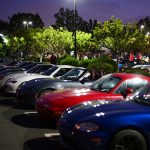 Mona and I made the pilgrimage to SoCal for the 15th Anniversary KINOD Event.
Read more...

Products sold on this site are for Off-road and Competition use only. This website intended solely to provide general guidance on matters of interest for the personal use of the Reader of this Page, who accepts full responsibility for its use. All products as well as information provided "as is," with no guarantee of completeness, accuracy, or timeliness, and without warranty of any kind, express or implied, including, but not limited to, the warranties of performance, merchantability, and fitness for a particular purpose.