
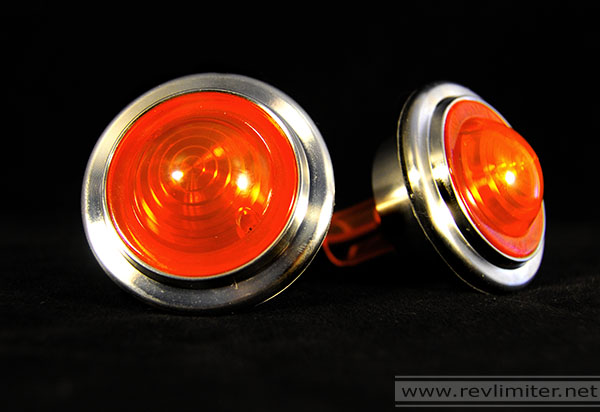
Zoom Engineering side winkers - Mmmmmmmm.
Your Shopping List
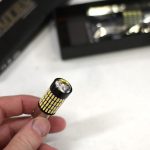
- A pair of winkers! - Lots of places to get a set of stock blinkers. Might I suggest a set from the NC? They use the same hole pattern and come with chrome surrounds. I bought a set of Zoom Engineering side winkers from Rev9.
- Blue painter's tape - This will protect your paint during the insane fender cutting process. It's very important.
- A method of cutting your fender - If you use the Zoom winkers, I'd suggest a hole saw designed for cutting metal. Otherwise, a Dremel with the reinforced cutting wheels should be your tool of choice.
- ~Ten feet of 20-22 gauge wire in two colors. I used blue and black since I had that around.
- Four vampire taps for your chosen gauge of wire.
- A nice crimping tool, a wire stripper, and wire cutters.
- Electrical tape
Frequently Asked Questions
- Where do I get some winkers?
Every market except the US got these fancy side/fender winker/blinker/marker lights on all previous generations of Miatas. That's right, PREVIOUS. Go to your dealer and get a set from the current car, the NC Miata. The special edition ones came with chrome rings. Very darn spiffy. If you'd like the Zoom or RS Products winkers, check out Rev9, linked at the top of this page. - How do I wire them?
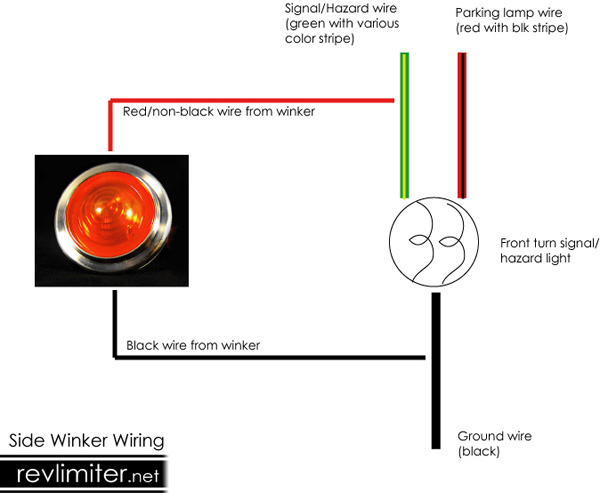
These blinkers/winkers should only blink. They should NOT glow with your parking lights. I mean, they can if you really want, but the stock wiring in the EU and JDM markets have them only blinking, not glowing. On all NA Miatas, you're looking for a green wire going to your front turn signals. It'll have a colored stripe, but the main color is green. And the ground wire is black like you'd expect. Tap into these. - A hole saw? Really?
Yeah! They make hole saws that are designed to cut through metal. I got one at Home Depot next to the ones that only cut through wood. It called for a low operation speed of 125 rpm for cutting steel. My drill isn't that accurate, so I just set it to low and drilled carefully. I did this because of the shape of the Zoom markers. I'd have rather used my Dremel, but a round hole was called for. - Where do I put them?
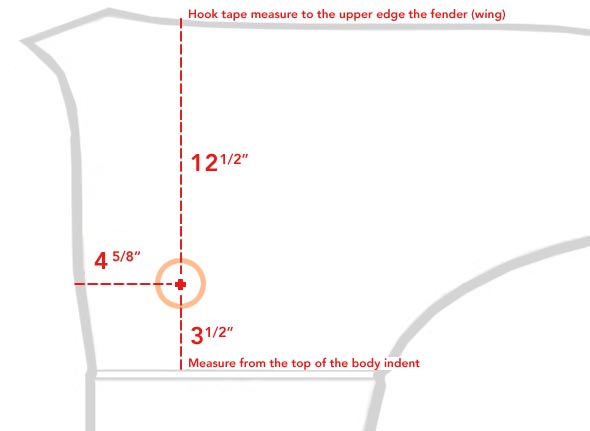
This is THE diagram, found on many Miata message boards throughout the intarwebz. I hope the original creator doesn't mind me posting it here. Remember to measure a half dozen times before cutting your precious fenders.
Preliminary Work

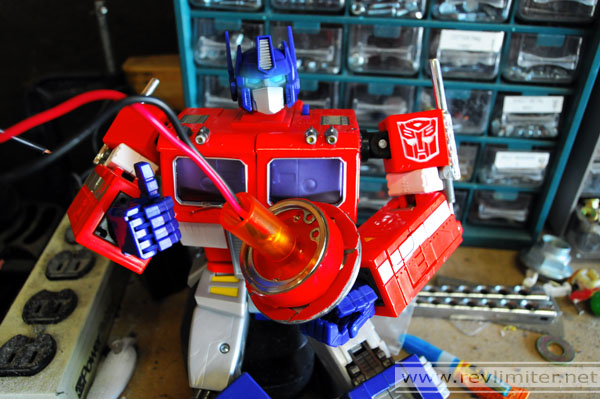
Say hello to Optimus Prime. Since Shockwave got to help with my gauge face install, I figured I'd give the big guy a crack at some side winkers.
Besides getting out your toys and camera and tools, you need to do a little printing. Print out the above winker location diagram (or maybe just this WHOLE how-to) and a couple copies of the following template.

I created this template by overlaying some artwork on a scanned gasket. That's right, there's a gasket that comes with the stock winkers. If you've got a set of stockers, there's probably a rubber gasket at the bottom. You can remove this and hold it up to a printout to verify that this template is the correct size. Also, here's a PDF version. Who knows if Firefox will print the above image at the correct DPI, but the chances of Acrobat/CutePDF printing it correctly are very good.
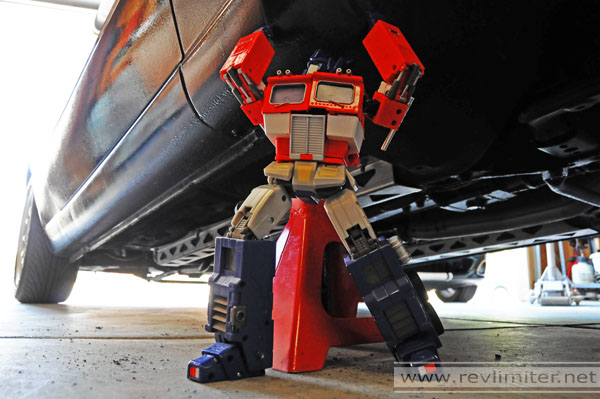
Since you need to peel back your fender liner to get behind your fender for the wiring (Do it now! You'll need a slot-head screwdriver.), you might as well jack up the car. Room to work is nice. And Prime reminds you to always use jack stands.
Yes, a whole image to remind you to use safety glasses. Your vision is important.
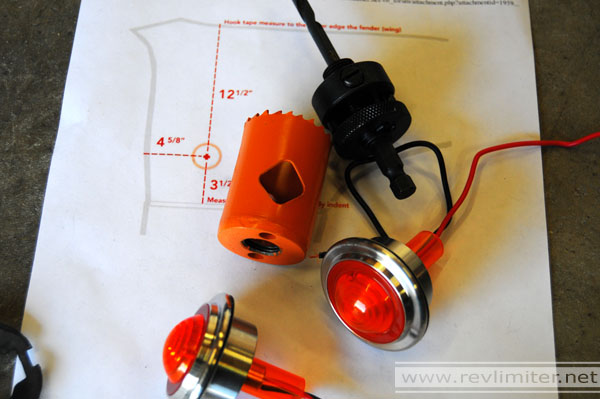
This is what my metal-cutting hole saw looks like. I had to buy a mandrel for it, but the whole setup was pretty cheap compared to a unibit which wouldn't have been big enough anyway. 38mm is what I used for the Zoom blinker. That's juuuuust a little oversized. You'll see what I did with that extra room shortly.
Measuring and Test Cutting
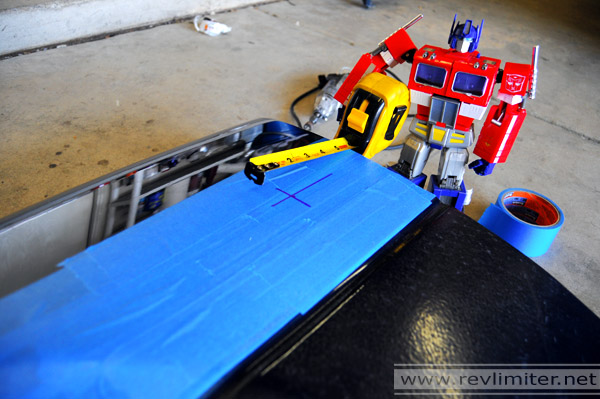
Optimus Prime always measures twice and cuts once. Except for when he just wants to blap some Decepticon scum.
Since I have most of a Miata worth of spare parts, I decided to take a spare fender and cut a hole in it. Such drama over 30 seconds worth of drilling, but SERIOUSLY, it worried me. So here's my preliminary cutting. Note the 5 layers of painter's tape used?

The hole saw mandrel has a fairly large bit. I wanted a slightly smaller and more accurate pilot hole. You'll want one too.

Whew! Seriously, about 30 seconds of drilling at a low speed got me all the way through. Our Miatas don't have very thick fenders. I used WD-40 to keep the hole saw lubricated and re-sprayed two or three times.
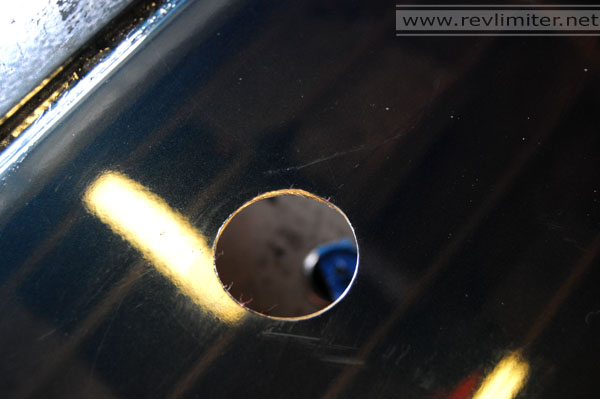
And there's the test hole in the spare fender all cut and happy. No surrounding paint was damaged. It was really not a bad method of hacking up a precious fender.
Installing Stock Blinkers
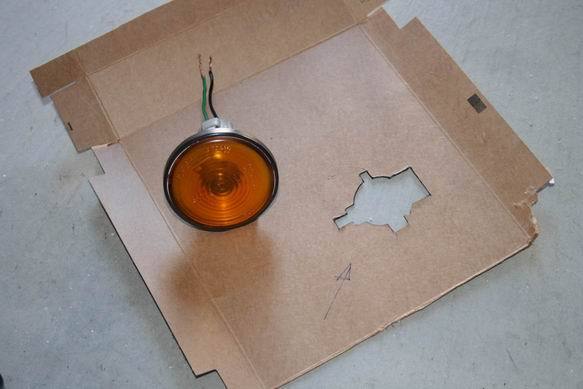
A very nice guy called butterflywings on ClubRoadster.net let me re-post his excellent stock winker install here on my site. Thanks, Sherman!!! Notice the template he made out of cardboard. Very nice work.
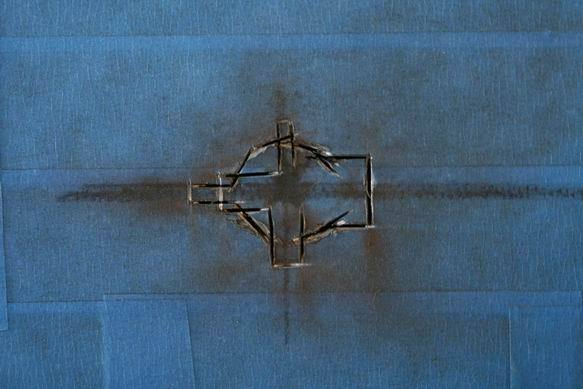
THIS is why I asked Sherman to use his photos. Look at those cuts! That's nice work. It's not difficult to make a lot of little cuts like this. Just remind yourself that you have all the time in the world. A little care will get you a perfect stock-sized hole.
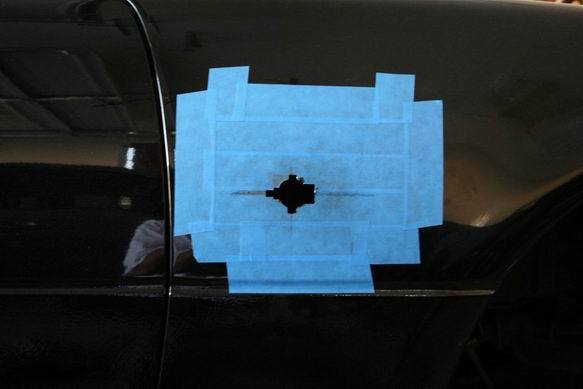
After removing the extra metal, that hole is just perfect. I originally planned to do this to my car, but my Zoom blinkers are slightly oversized for this hole. After cutting, I would have had to cut a little more, so I went for the hole saw.

butterflywings' final shot. Looks great!
Zoom Engineering Specific Mods
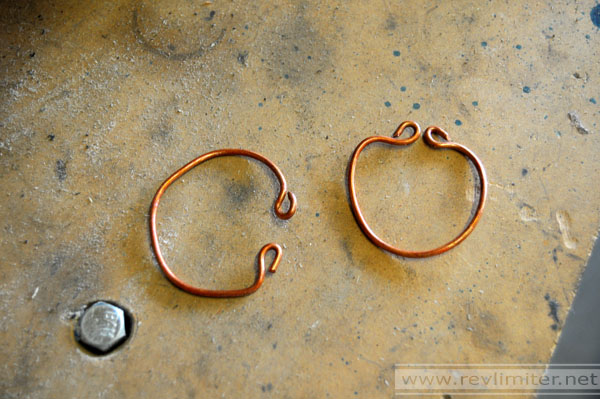
The Zoom winkers are beautiful, but they expect you to rely on very weak double sided tape to hold them to your fenders. I was NOT having any of that. I quickly bent up these little retaining rings out of some copper. They're not pretty, but they grip the body of the Zoom marker really tight and grab onto the back side of the fender a bit. If the winkers get loose, these should hold them long enough for me to notice.
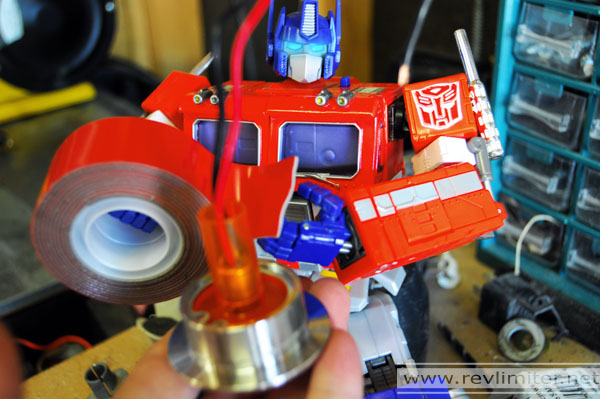
In addition to the little rings, I ripped off the weak Zoom Engineering tape and replaced it with Scotch 5 pound mounting tape. This stuff is pretty strong. 5 pound is about as strong as double sided tape comes. Prime was happy to help. He approved of the tape color.
There we are! I taped the barrel as well as the lip. Now the winker juuuuust barely fits in my 38mm hole with the extra tape. The tape also helps hold the little retaining rings in place on the back of the fender.
Zoom Blinker Install!

Finally, we're up to my actual winker install. Seems like a lot of pix and text for such a small mod. My pilot hole completely covered my center mark drawn over the tape, making it look like I didn't make one. Don't be fooled, I spent many minutes getting that point in just the right spot.
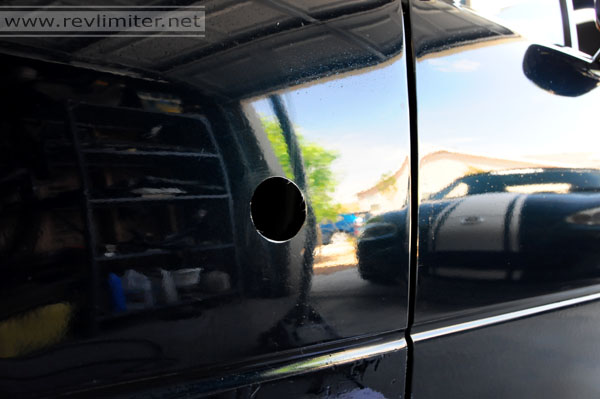
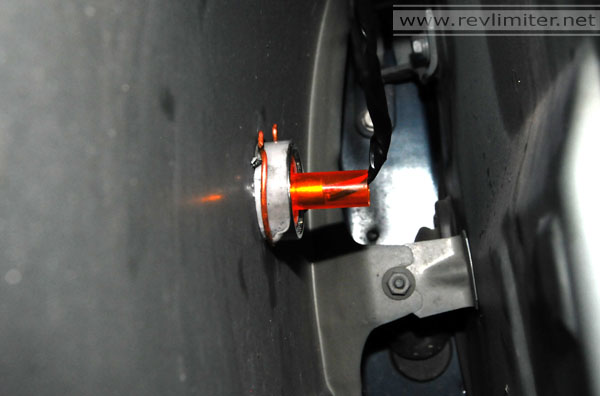
The hole came out perfect. No damage. In fact, all three hole-saw-holes I drilled came out perfect. The hole saw might make a pretty horrible noise, but it worked great. Sharka was very happy to have no fender damage. Bucky, reflected in the door, looks afraid.
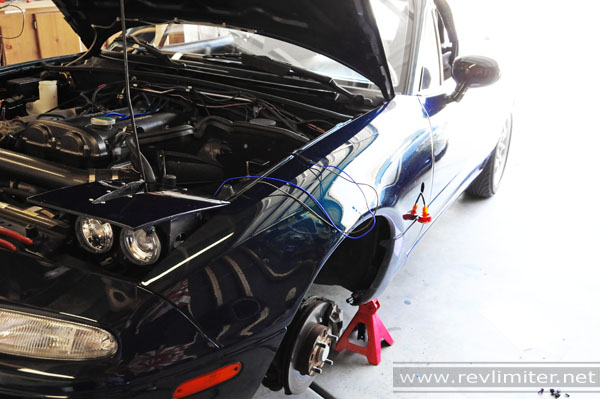
Wiring is almost an afterthought to this project. You just need a nice long run of wire (an arm span, about 5 feet, is what I went with) and a couple vampire taps. I tapped in right behind the front signal bulb on either side and ran the wiring inside the engine bay. There's a nice square hole on either side of the inner fender directly above the side blinker.
Once I verified I had the wiring right, I shoved the winker in the hole and applied my little retaining clips. They're probably not necessary, that tape is REALLY strong, but they make me feel a little more secure about the expensive markers not falling out.
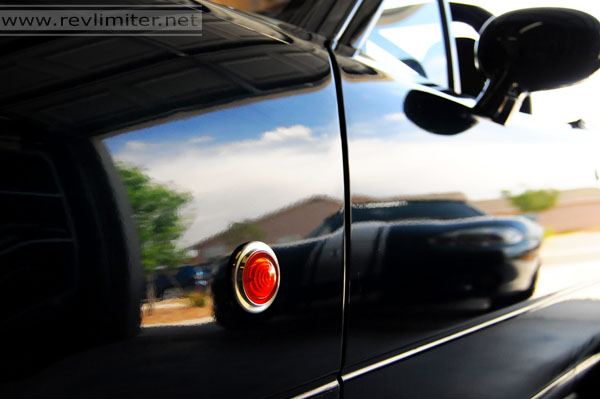
Ta-da! The winkers are installed. I hope this incredibly long how-to helps give others the tools and confidence they need to hack up their own fenders. It really is an easy project and so worth the effort.
...and that's it.
Site Navigation


Latest Blog Posts
Mabel
Posted on Sat, 29 Jun 2024 03:13:22 +0000
 Who's the dog that keeps showing up on the revlimiter Instagram? It's Mabel, my ACD/Pomeranian service dog.
Read more...
CarbonMiata Vent Window Install/Review
Posted on Mon, 30 Jan 2023 01:47:44 +0000
 After waiting 23 years, there's finally a pretty vent window kit on the market for the NA/NB Miata. Unfortunately, it doesn't actually work well.
Read more...
Period-Correct 90s Rear Speakers
Posted on Mon, 11 Oct 2021 02:12:26 +0000
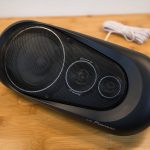 Sharka's rear package tray now holds more than just a rollbar. A set of 90s speakers is the next upgrade for the little blue and white boi.
Read more...
GV Tail Light Upgrade
Posted on Tue, 28 Sep 2021 02:05:06 +0000
 TLDR; LEDs are brighter, who knew?
Read more...
Mona Visits Joshua Tree
Posted on Sat, 26 Jun 2021 03:21:12 +0000
 Mona checks out the curious multi-armed residents of Joshua Tree National Park
Read more...

Products sold on this site are for Off-road and Competition use only. This website intended solely to provide general guidance on matters of interest for the personal use of the Reader of this Page, who accepts full responsibility for its use. All products as well as information provided "as is," with no guarantee of completeness, accuracy, or timeliness, and without warranty of any kind, express or implied, including, but not limited to, the warranties of performance, merchantability, and fitness for a particular purpose.